How to Broadcast your Church Worship Services Live Online
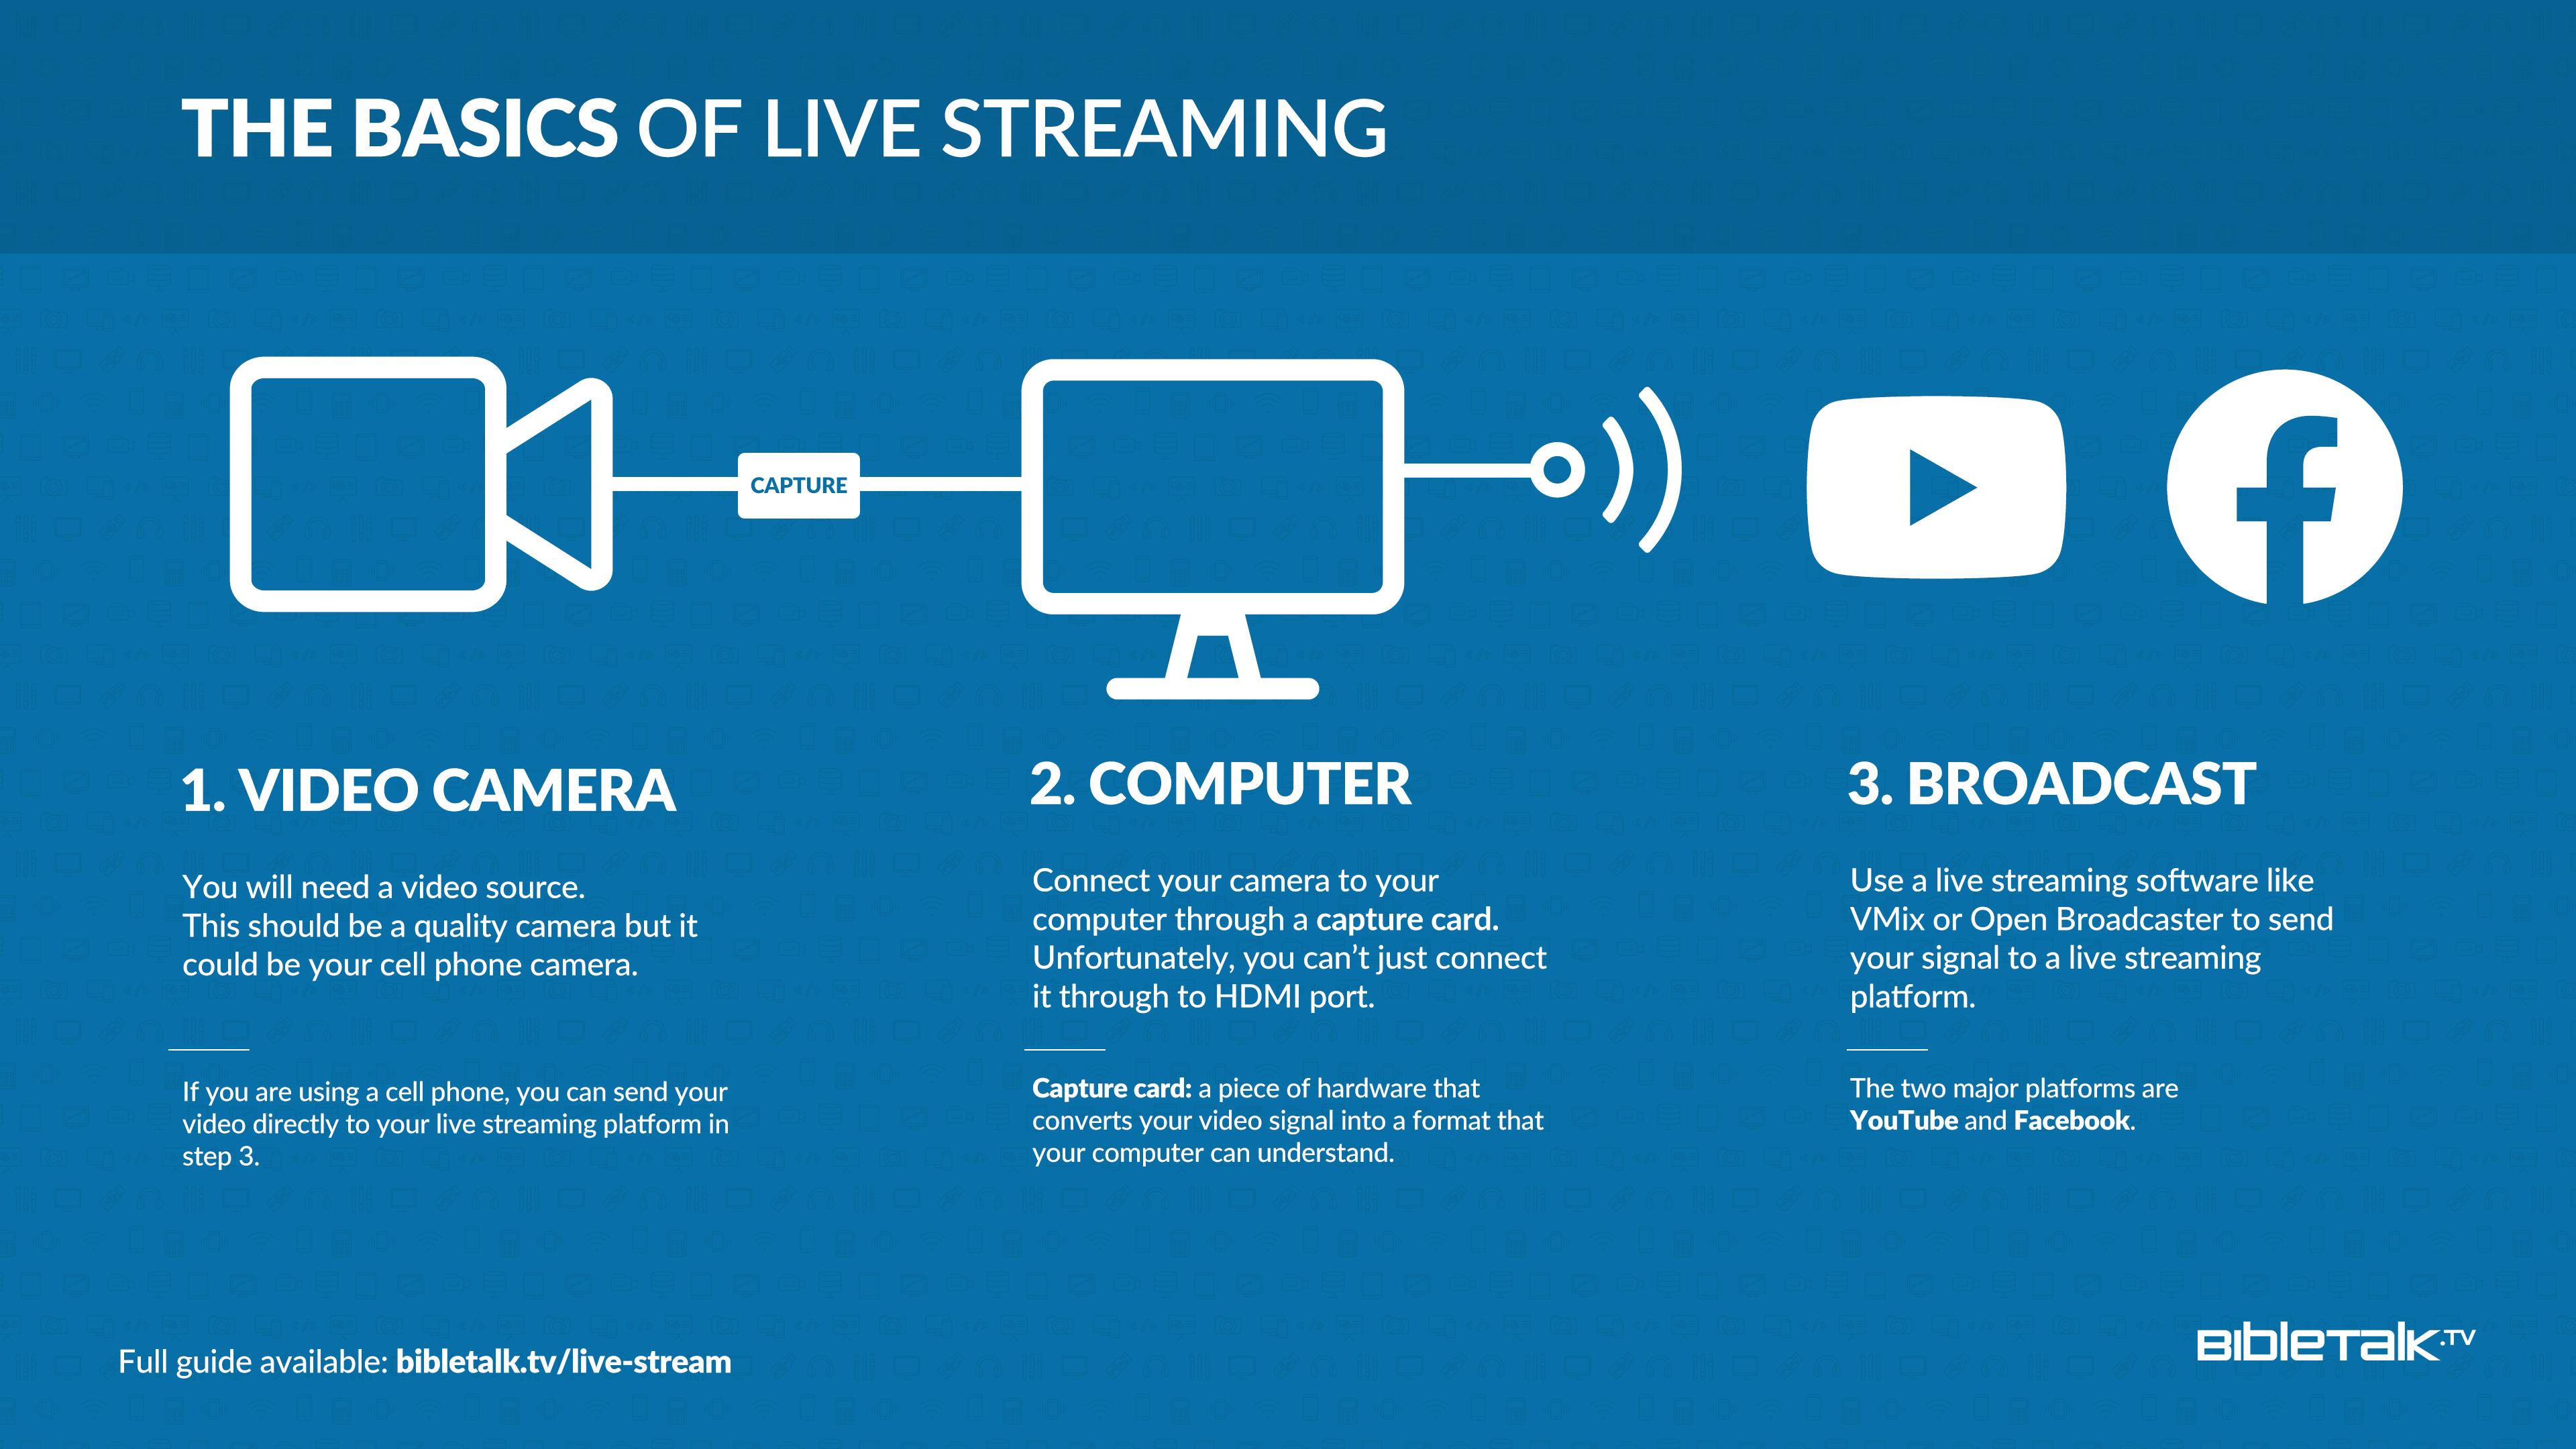
The basics of live streaming include capturing a video signal and streaming it to a remote platform where everyone will then connect and watch. Here is a general diagram of the components necessary. For our full setup and a write up on all the equipment needed, keep reading!
Background
We first started live streaming online worship in 2006 at the Ville-Emard Church of Christ in Montreal. This was the early days of online streaming before platforms like Ustream were founded. We originally used Windows Media Encoder and our members were connecting directly to our laptop in the back of the auditorium (thanks to our tech guy Silviu Frantescu). The system started to stress out at about 10 users.
Over the years, I have worked out a lot of kinks that come with the technology and equipment needed. Here is one approach you can take to broadcast your worship service online.
The first thing we'll cover is the equipment needed to get started. I'm going to show you how to set up a basic system, because if you have a big budget you should just hire someone to take care of it for you. I'll also include the difficulties we've had with each area, so you can perhaps plan/avoid these things.
Equipment Needed for Live Streaming Church Services
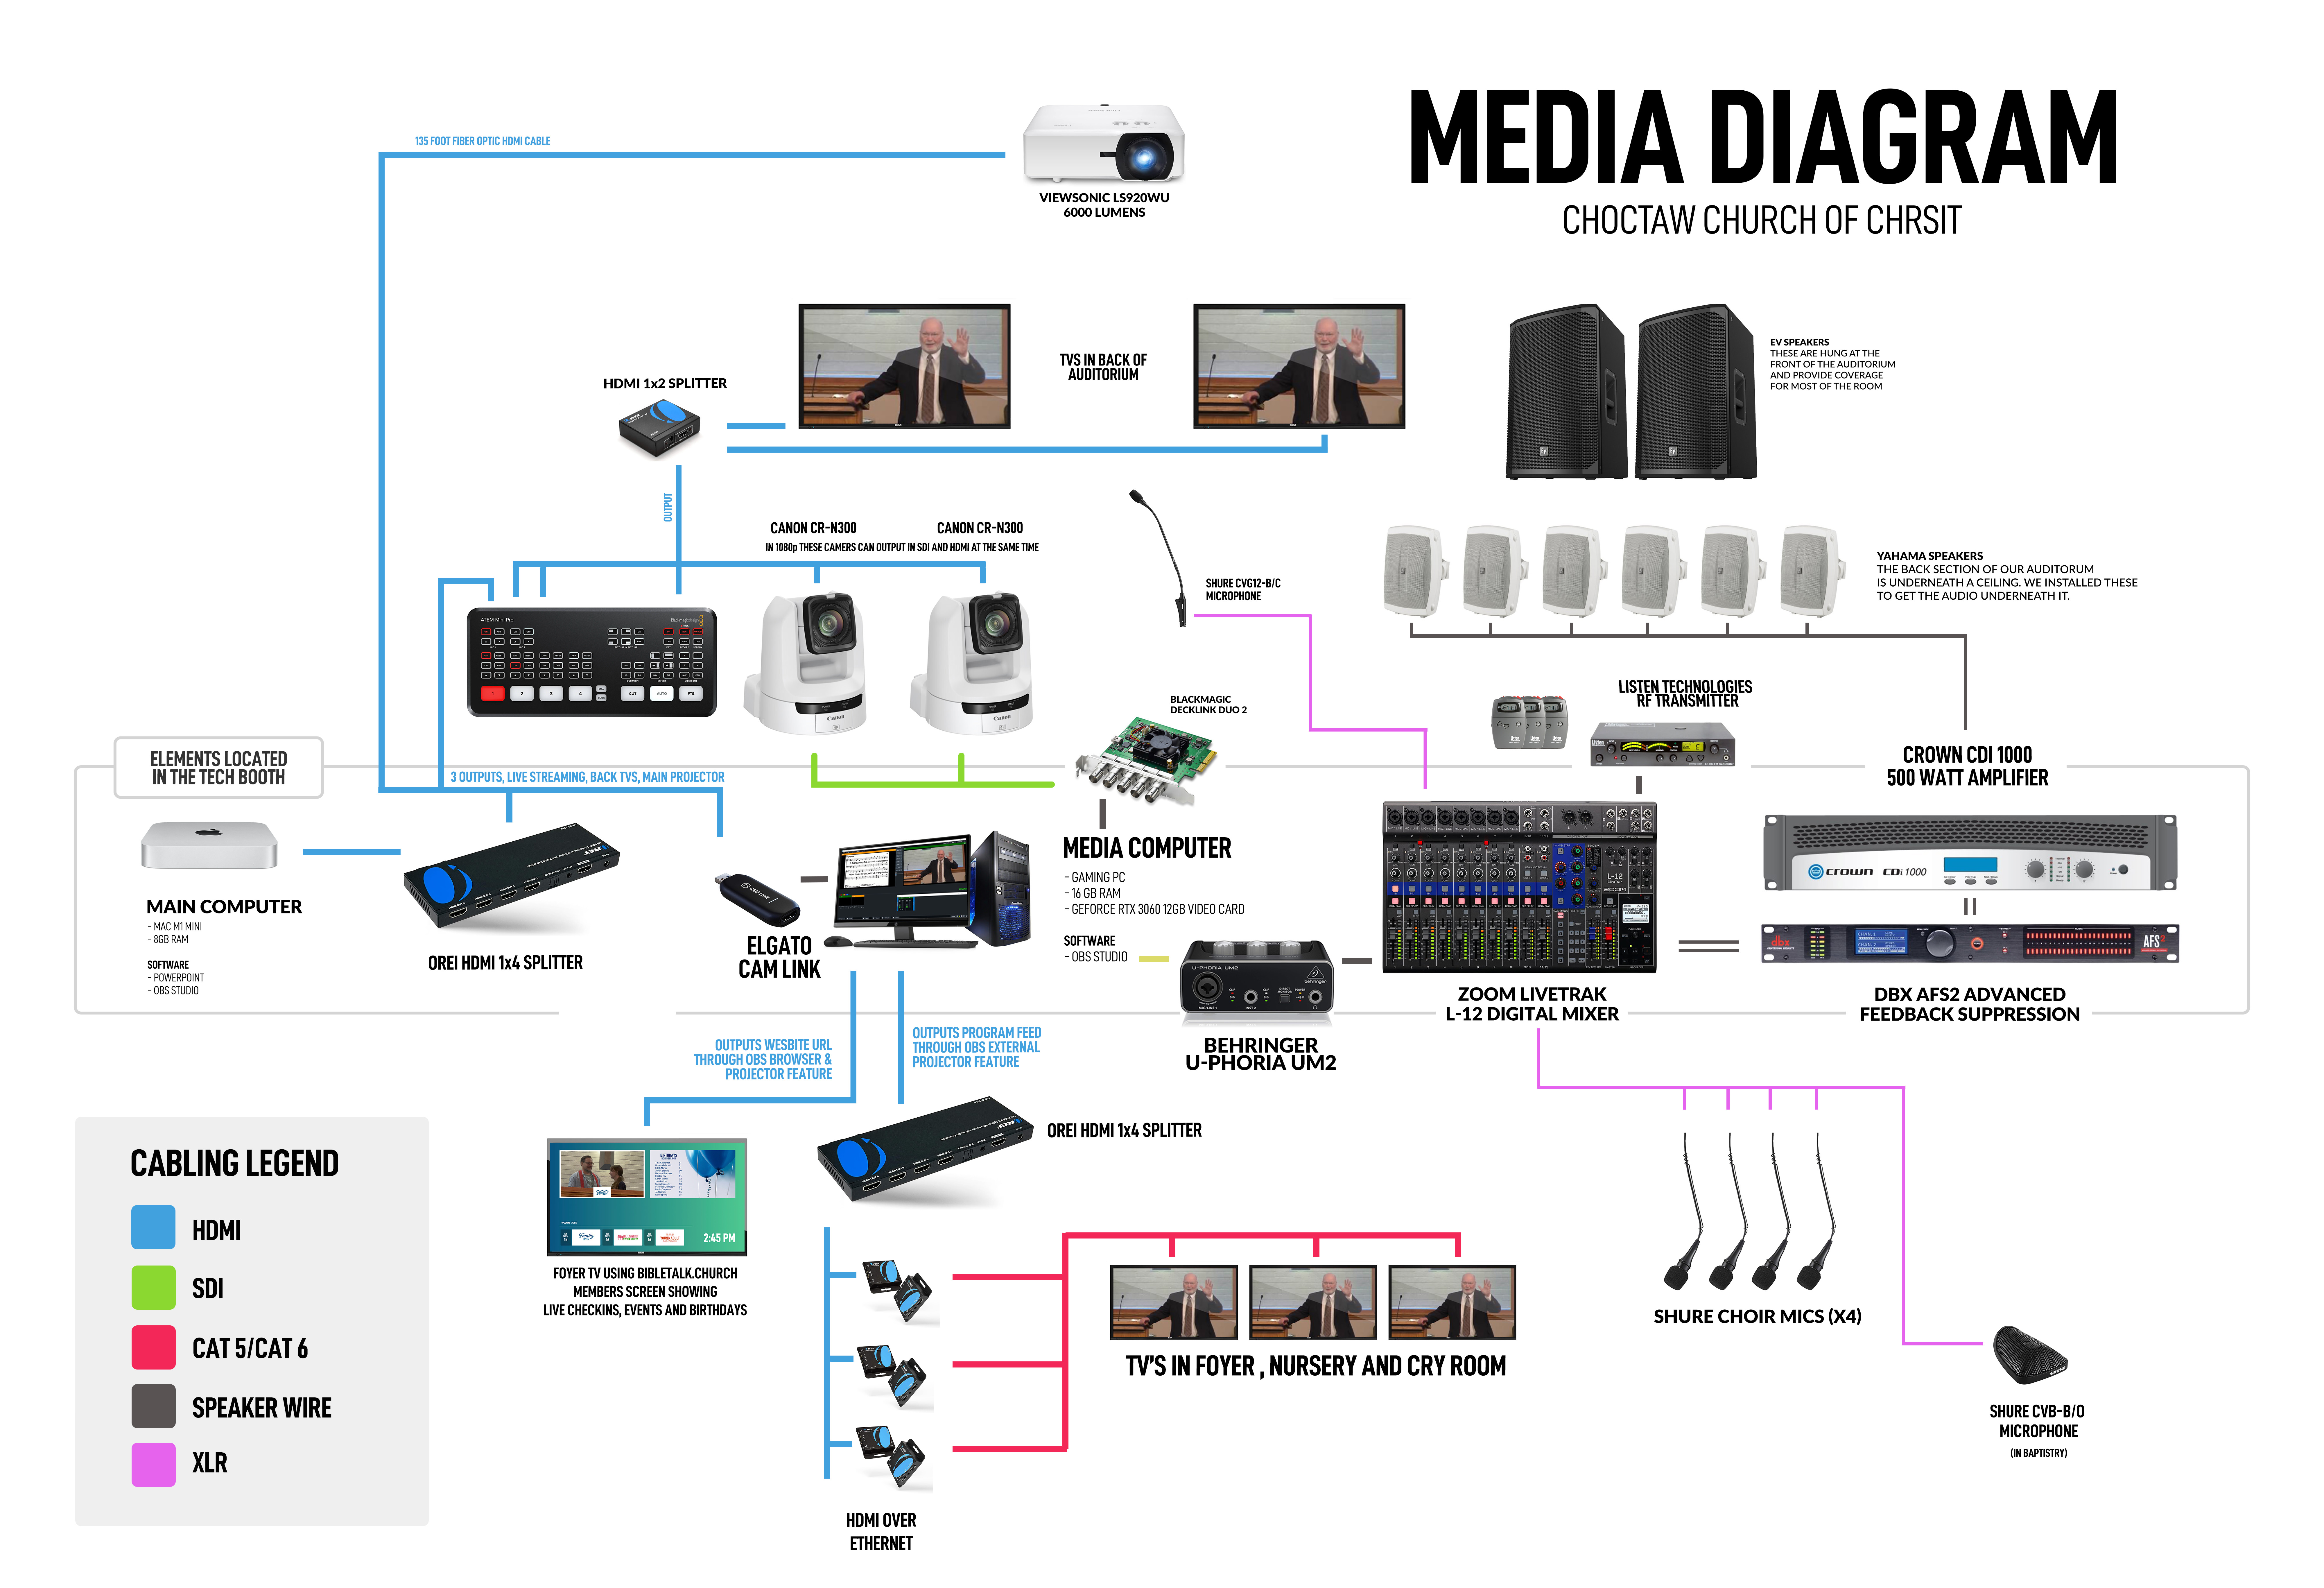
As you know there are a lot of options for each of these areas. The trickiest part is getting them all to play nicely with each other. Here is our current setup that we use for our live broadcast at the Choctaw Church of Christ.
We currently stream at 1080p 29.97fps and for our BibleTalk.tv videos we also record separately with another camera in 4k for on-demand viewing. Recording separately allows us to control the quality of the videos better and have a more polished finished product. At one point we tried streaming at 60fps but this caused problems for some of our viewers with slower internet.
General Overview
Here is a diagram showing all the working parts and cabling.
1. Microphones for Live Streaming
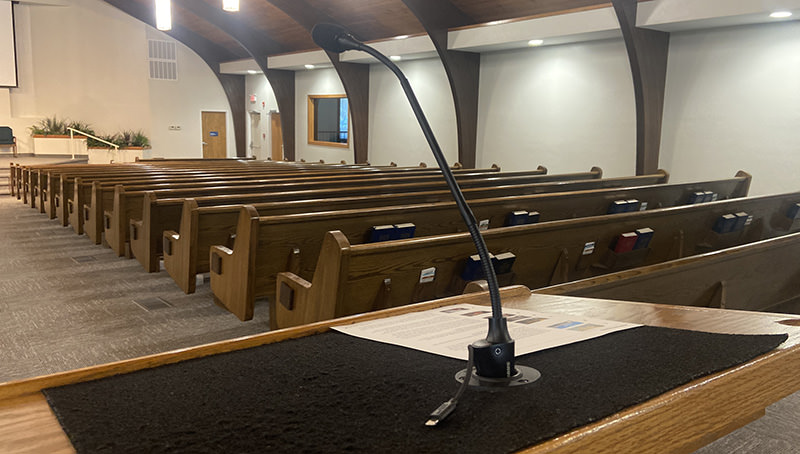
Pulpit Microphone
At the podium you probably already have some type of microphone hooked into a mixer/amplifier and then dispersed to some speakers. If this is true, you are much closer to broadcasting than you think. We use a Shure Gooseneck Microphone with a Pre-Amp. Another brand I would suggest is Audio-Technica.
Nice audio is key to a good live stream. Many viewers can handle a little bit of a choppy or blurry video as long as they can hear properly.
Crowd Microphones
Audience Participation – We now have 5 microphones around the auditorium to capture the singing and questions. We started with just one Audio Technica boundary microphone in the rear of our auditorium (where we have Bible class before worship services) which sounds great. I found the paint used in our building and gave it a coat so it blends in nicely. It is currently routed into our main mixer and we use separate outputs (in the mixer) to only send the crowd mic output to our live stream and not the main auditorium speakers.
We also have four Shure choir microphones in the front to pick up congregational singing. We currently have the two on the left split into one channel and two on the right into another channel.
Microphone difficulties
- Pulpit: We do have trouble from time to time with feedback when someone is talking quietly. I'm not sure if a more sensitive microphone would help. It could also be the long and narrow style of our auditorium. We did purchase an extra pair of speakers for the back of the auditorium. This helped some but with certain low-talkers we still have trouble with it. When the microphone is properly pointed directly at the speaker's mouth the sound is much better, however, this step is not always done.
- Crowd: The guys in our booth have a tendency to forget to mute the crowd mic, so when the singing is done and regular talking begins, it's very hard to hear the speaker. The key here is to always wear the headphones of the audio feed that your live streaming audience is hearing. It's very easy to tell (with the headphones on) when the crowd microphone is on.
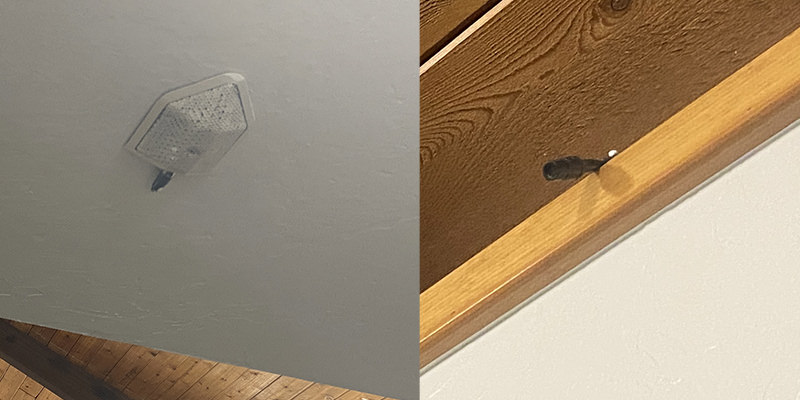
2. Cameras for Live Streaming
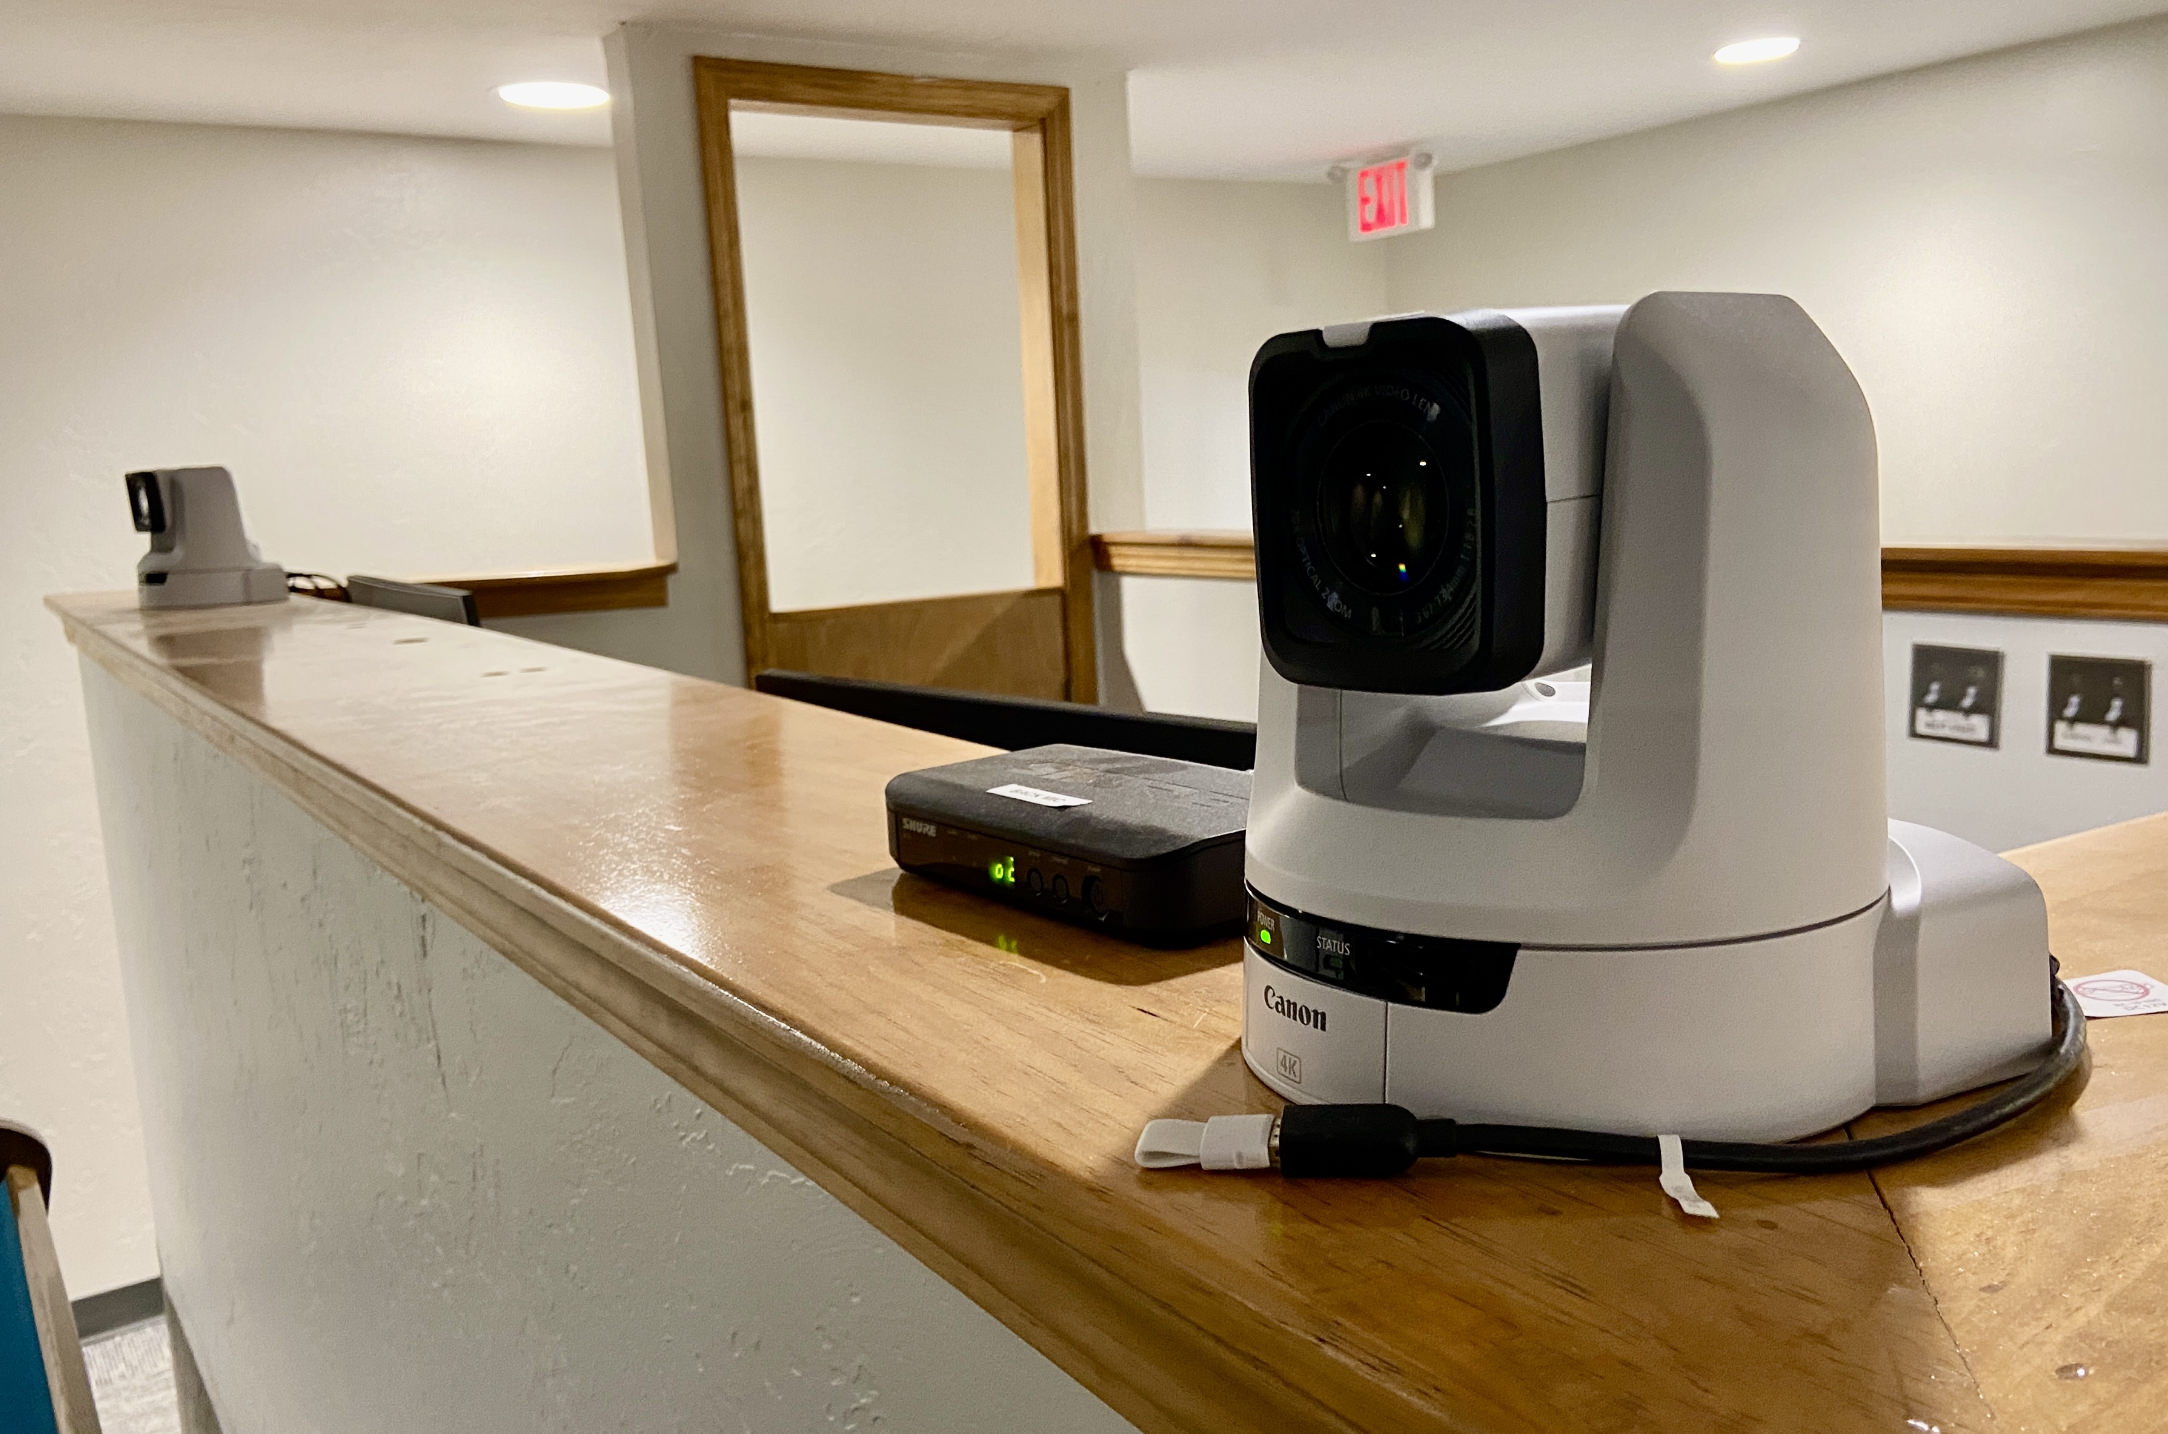
A nice HD camera will really take your broadcast to the next level.
We use the Canon CR-N300 and both are located on the edge of our sound booth. They are about 70 feet away from our pulpit and still produce a crisp image.
These cameras can output two streams of 1080p at the same time.
The HDMI feed goes to an ATEM Mini Pro that sends the feed to the TVS in the back of the auditorium and the SDI feed goes to our streaming computer.
Based on your auditorium, get a camera that can zoom in close to your presenters. Being able to get close to your speaker will change the whole feeling of your video.
Seeing the expressions of the speaker on the stage and not just that a person is on the stage allows your participates at home or in the future to be engage with your worship.
The main reasons I went with a PTZ camera are easy of use and zooming. We do not always have volunteers to run cameras so this allows for a single operator in the tech booth. Also we have Bible class in the back section of the auditorium first then move the lectern to the front for worship. So instead of having two different cameras setup, I went with the zoom option. Zooming does affect the quality of your picture so keep that in mind. And being at the max zoom on your camera will make any bump of the camera more noticable.
Non-robotic Cameras
When camera operators are available, this is the way to go. Using humans to track presenters without robotic movements is much better.
We have used several non-robotic cameraas through the years and have had very few issues. Our current cameras are two of the Panasonic AG-DVX-200 and a Blackmagic 6k Studio Pro.
We use these for our on-demand videos, because we can hard wire the microphone directly into the camera through the XLR inputs. This provides high-quality audio that doesn't go through the mixer and isn't affected by any other technical influences. These cameras have HDMI outputs, so you could do both at the same time: record to the SD card in the camera and send the signal to a computer for live streaming.
Tripods
We use Manfrotto tripods. They are really solid units for the price and they have fluid heads and are lightweight for easy moving around. Sturdiness and having a fluid head are the main things to look for here. If these are openly available in your room, you want something sturdy that cannot be pulled down.
Camera Difficulties
- Robotic Cameras and Controllers: The main problem with robotic cameras is the jerkiness when panning and zooming because the motors use a degree based system. This means when we jump from our lectern preset to our wide preset, the transition is rather quick. The H100S camera we have does not have a speed control option. From my research, the higher-end models do have the speed option. I would say to either go with two remote cameras (one for a close-up and one for a wider view perhaps when communion is being handed out) or a single camera with speed control.
- Non-robotic Cameras: Ideally if you have regular and capable volunteers, I would use these types of cameras. They have a better picture and you can't beat being able to point the camera exactly where you want it. Also if something happens in another part of the building, your camera isn't attached to the wall or ceiling.
3. Mixers for Live Streaming
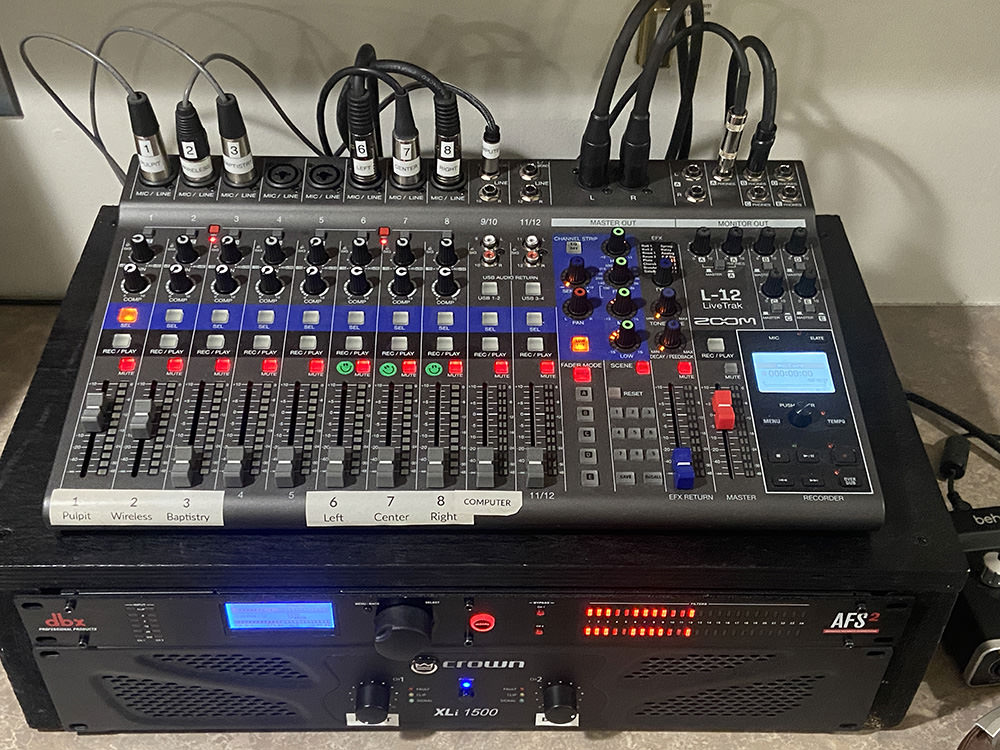
I won't go into setting up your mixer in this article because you most likely have something set up to amplify your presenter. The main thing to look for in a mixer (for live streaming purposes) is what type of outputs your mixer has. If your mixer has a USB output this will keep your audio digital and should not introduce any feedback or distortion.
If your mixer does not have USB output check out the BEHRINGER Audio Interface. It has an XLR input and a 1/4" input. In the back, it has a USB cable that connects to your computer for super easy and clean audio. It can normally be purchased for around $30.

Mixer Difficulties
- Phantom Power: Your mixer may not have this but if you do, make sure to turn this on. This option supplies your microphone with power. If you are using a cardioid or super-cardioid microphone, I believe this is a must.
- Hum Eliminator: In one of our earliest setups, we had a significant hum. We hired some audio specialists to check out our system and help us find what was wrong. After a few minutes, they suggested the Rolls DB25 Passive Direct Box and instantly our audio was crisp and hum-free. This $30 box was the difference-maker. One thing to note is that this box has a 1/4" input jack on one end and an XLR output on the other. In our computer, we had the standard stereo 3.5mm mini microphone jack, so they had to make us a custom XLR to mini cable. You can find an XLR Jack to Stereo 3.5mm Mini on Amazon.
4. Computers for Live Streaming
The first thing to check is the technical requirements for the streaming software you are using (vMix & OBS). You'll want to make sure whatever setup you have is above these levels. If you are at the bottom level of their specs you're probably going to be having some issues (like choppy video).
Windows: Your computer should have at least an i5 processor. I would go with an i7+ processor if you can afford it.
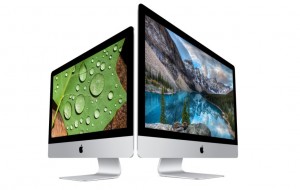
Macs: Get something with an Apple M Chip and you should have no problems.
I'm partial to Macs but get the setup that works best for you and your volunteers.
- For live streaming at choctaw.church: We have a pretty generic setup with a CyberPowerPC. When looking for a good Windows computer I tend to check the "gaming" category of computers as gaming has similar needs to video processing. The key is multiple processors/cores, a good video card (look for GeForce) and a good amount of memory (RAM). I would say no less than 16GB for 1080p and 32GB for 4k.
5. Hardware for Live Streaming
There are some additional hardware items to consider inside and alongside your computer.
Capture Cards

The first is a way for your computer to recognize your video stream. The most common ways are through USB, Thunderbolt on Mac and PCI capture cards on Windows. I prefer Blackmagic Design for most options, based on price and quality. There are cheaper and more expensive options available.
- USB: Some cameras offer the ability to connect through USB like the HuddleCam lineup. If you are doing HD, I would recommend only doing this through USB 3.0 or higher. If you read some of the reviews on the cameras, this issue comes up. Blackmagic Design makes a USB 3.0 Shuttle option, however, I personally tried it and it didn't work with my computer motherboard, which was strange, so keep that in mind.
- PCI Capture Cards: The most common outputs from HD cameras are HD-SDI and HDMI. There are a handful of options from Blackmagic Design on these. We currently use the DeckLink card which allows up to 4 cameras.
- Wirelessly: Some new software options allow you to stream wirelessly from cell phones. Checkout Wirecast Cam for iOS as one option. My guess is that more players are going to enter this space, however, as far as troubleshooting goes it's hard to beat a wire connected to a device.
- Livestream.com Devices: The live streaming software LiveStream.com has multiple ways to capture video. Some of them only work with their own service, but others (like Mevo Camera) are starting to work with other streaming providers.
- Blackmagic Design ATEM Switcher: This device can switch multiple cameras into one stream with graphics. If you have a slower computer, this device can pick up some of the load, because all of the switching processing is done on the ATEM device.
6. Software for Live Streaming
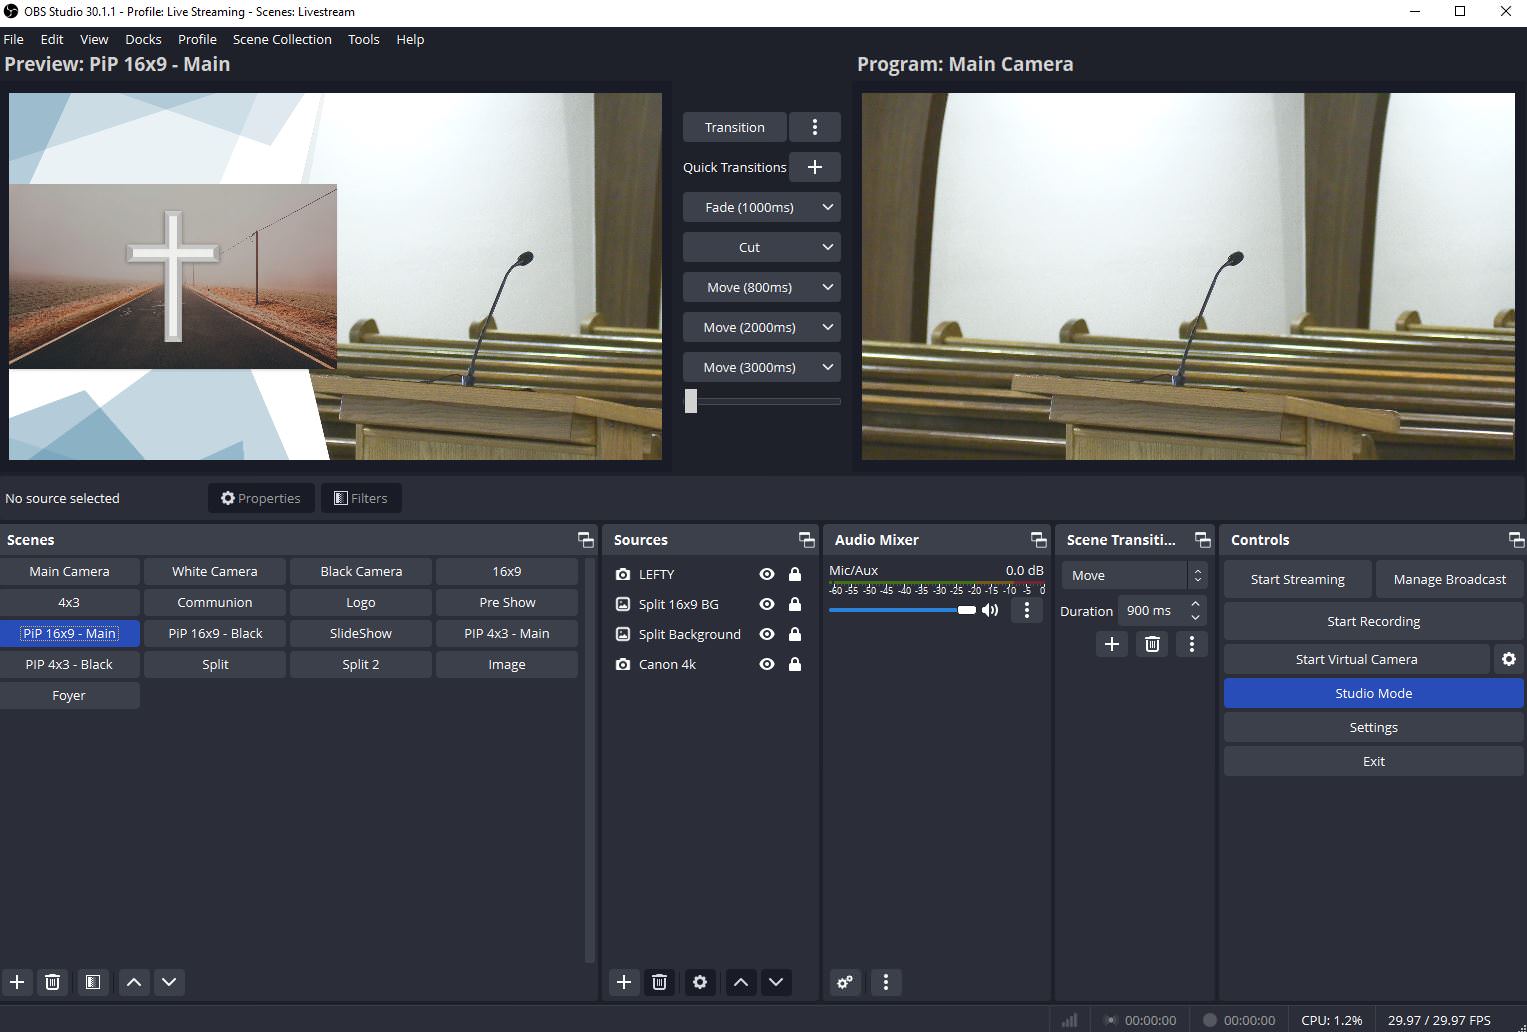
There are lots of options here, but I completely recommend OBS Studio. It's 100% free and super powerful once you get it figured out. Look for another Tech Guide just on OBS in our Church 101 section.
7. Live Streaming Platforms
The option we are currently using is YouTube Live. I am quite happy with the quality and ease of use when teamed up with OBS. I was uploading our videos to YouTube anyway for on-demand viewing, so this saves a big step (as far as time goes).
There are many different platforms out there, I'm not sure why you wouldn't want to use YouTube as it's completely free and can already offer streaming of 4k and 360-degree videos, my only guess is because of the other types of videos found on their website. Here are some other options besides YouTube:
- Facebook Live
- Livestream.com
- Faithlife Live Streaming
- BoxCast
- ChurchStreaming.tv
- SundayStreams
- StreamSpot
I do encourage you to support Christians who build media projects, however, I'm not sure these aren't just bigger companies marketing to churches.
For more information on some of these services and on building church websites, check out my article Building a Church Website.
For more information about live streaming platforms, check out this great article by The Lead Pastor: Best Live Streaming Software
7. Patience
You may think this is a gag but it is really important. You are working with so many different moving parts, gadgets from different companies and weird settings that something is bound to go wrong. I remember sitting in our booth for hours trying to get the video feed to appear on the computer only to find out I was setting the sources as 30fps instead of 29.97fps. So be patient and remember you are doing this for God and for people who want to learn more about Him.
If you have any questions about getting your church worship services online feel free to email me.
